
Settling In Comfortably: What to Do in the First Hour at a Vacation Rental
From testing the locks to locating emergency numbers, a calm arrival routine makes the rest of your stay go smoothly.
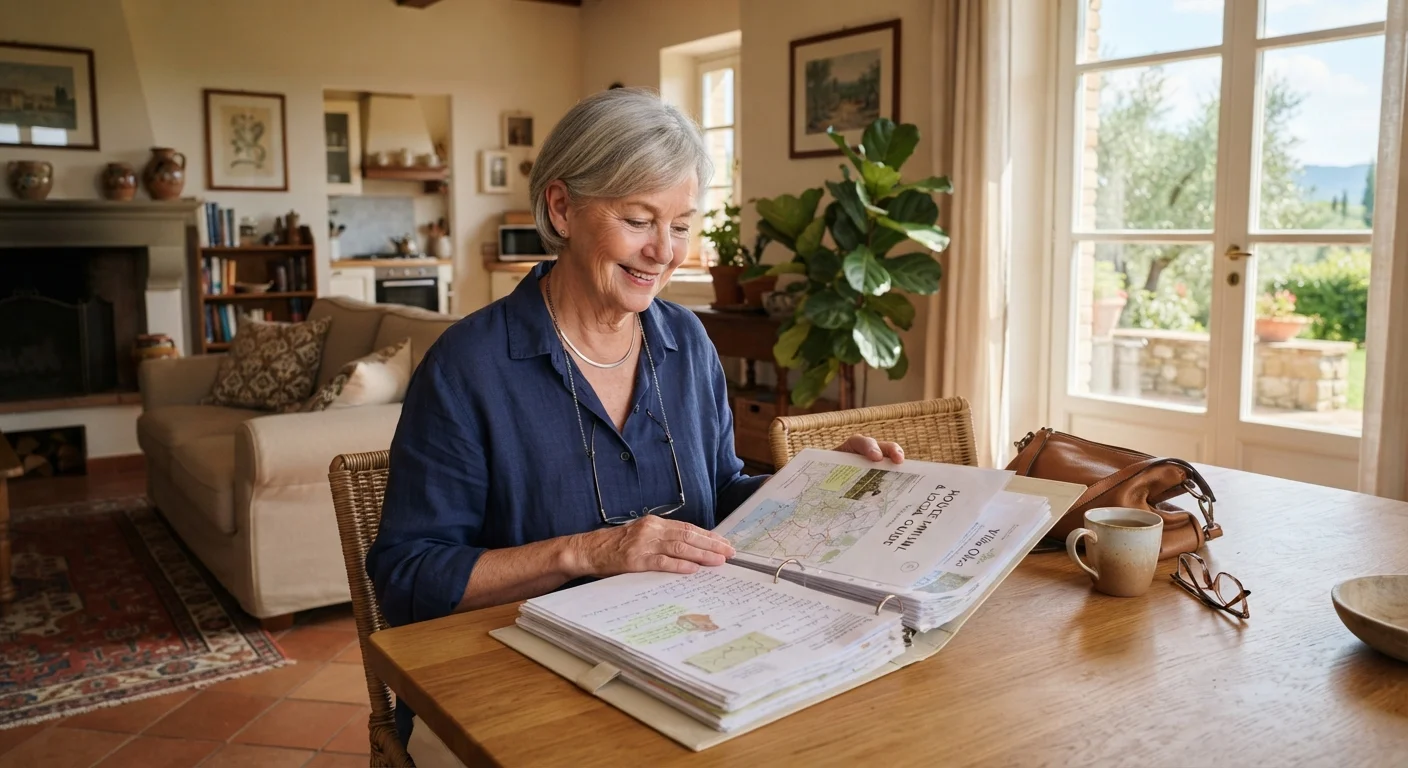
Photo: MyUrbanEscapes.net | Small Escapes. Big Experiences. editorial
—— In This Article
Key Takeaways
- A systematic arrival routine prevents small oversights from becoming bigger problems later in your stay.
- Locating emergency numbers, exits, and safety devices within the first hour is a simple but essential habit.
- Testing locks, appliances, and lighting early lets you contact the host while issues can still be resolved.
- Photographing the rental's condition at check-in protects you against disputes about pre-existing damage.
- Personalizing your space with familiar items can meaningfully reduce disorientation during longer stays.
Why the First Hour Matters More Than You Might Expect
Arriving at a vacation rental feels exciting, but it is also the moment when travelers are statistically most likely to overlook things that matter. Unlike a hotel, there is no front desk to call about a flickering light or a sticky lock — you are largely your own advocate. For senior travelers especially, a calm and methodical arrival routine pays dividends for the entire stay.
Before you start, review what you'll need on hand. If you want guidance on what to bring from home to ensure the rental feels comfortable from day one, see our pre-departure packing list for vacation rental stays.
What you will need
The steps below move from safety-critical tasks to comfort-focused ones. Work through them in order so nothing gets skipped in the excitement of settling in.
Arrival checklist (printed or on your phone)
Keeps your walk-through organized so no area of the rental is overlooked.
Flashlight or phone torch
Helps you inspect dim areas such as closets, stairwells, and utility rooms.
Notepad and pen
Lets you jot down any damage, missing items, or questions to raise with the host.
Camera or smartphone camera
Documents the rental's condition at check-in with timestamped photos.
Your Step-by-Step Arrival Routine
Secure the entry and test all door and window locks
Before unpacking anything, try every exterior door and ground-floor window lock. Confirm that each one latches securely and that you understand how it operates — some older properties have lever-style deadbolts that require a firm turn. If a lock feels loose or a window latch appears broken, note it immediately and contact the host. A quick message at arrival is far easier to resolve than a late-night security concern.
Locate smoke alarms, carbon monoxide detectors, and fire extinguishers
Walk through each room and identify where smoke alarms and carbon monoxide detectors are installed. Press the test button on each one to confirm it beeps. Find the fire extinguisher — typically in the kitchen — and make sure it is accessible and not past its inspection date. Note the location of every exit, including any rear or side doors, so you are never disoriented in an emergency.
Write down local emergency numbers and the home address
Confirm the full street address of the rental and write it on paper — you will need it if you ever call 911 and cannot recall it under stress. Add the non-emergency number for the local police, the nearest urgent care clinic or hospital, and the host's phone number. Post this list somewhere visible, such as on the refrigerator door or beside the main telephone if one is available.
Photograph pre-existing damage and note missing items
Before you place your belongings anywhere, walk through the rental with your camera and photograph any scratches, stains, broken fixtures, or worn areas you notice. Check that listed amenities — extra linens, cookware, a hair dryer — are actually present. Send a brief message to the host summarizing what you found, so there is a timestamped record. This protects you from being held responsible for damage that was already there.
Test lighting, heating, and essential appliances
Flip on every light switch — particularly in the bathroom and along any interior stairs — to confirm bulbs are working and that you understand which switch controls which fixture. Adjust the thermostat and give it a few minutes to respond. Run the hot water for a moment to confirm it heats properly. Open the refrigerator to check it is running at a safe temperature. Small tests now prevent surprises at bedtime.
Unpack strategically and personalize your space
Unpack only what you need for the first day — toiletries, medications, a change of clothes, and any comfort items you brought from home. Place frequently used items at a comfortable height so you are not bending or reaching repeatedly. A small framed photo, a familiar blanket, or your usual pillow can reduce the sense of unfamiliarity that sometimes accompanies the first night in a new place.
After the Walk-Through: What to Do If Something Is Wrong
If you discover a significant issue — a lock that does not work, a missing safety device, an appliance that is broken — contact your host through the booking platform's messaging system as well as by phone. Using the platform's chat creates a written record. Most hosts are responsive and want to resolve problems quickly; a calm, factual message describing the issue will generally get results faster than an urgent or frustrated one.
If a problem poses an immediate safety risk and the host is unreachable, contact the booking platform's customer support line directly. Their contact details should be in your original confirmation email. For broader safety habits during any rental stay, our companion guide on staying safe in an unfamiliar rental covers smoke alarms, exit planning, and securing valuables in more depth.
Keep Your Arrival Notes for Checkout
The checklist you complete on arrival is just as useful when it is time to leave. Reviewing your notes and photos before checkout helps you confirm that any damage you documented is still accurately attributed to its pre-existing state, reducing the chance of disputes over your security deposit.
Once your walk-through is complete and any issues are logged, you can genuinely relax. The groundwork you have laid in this first hour means the rest of your trip can focus on enjoyment rather than troubleshooting. If you are planning a longer stay, our guide on making a rental feel like home for a week or more offers practical ideas for building routines that keep the experience comfortable day after day.

Vacation Rentals Editorial Team
Vacation Rentals Editorial Team is the collective byline for our editorial team and contributor network. Articles published under this byline or an editorial pen name are researched, written, and reviewed according to our editorial standards for clarity, consistency, and independence before publication.
View author profile