
Mobility Aids and Air Travel: Navigating Airports with Confidence
A step-by-step walkthrough of requesting assistance, checking mobility equipment, and moving through airports when using a cane, walker, or wheelchair.
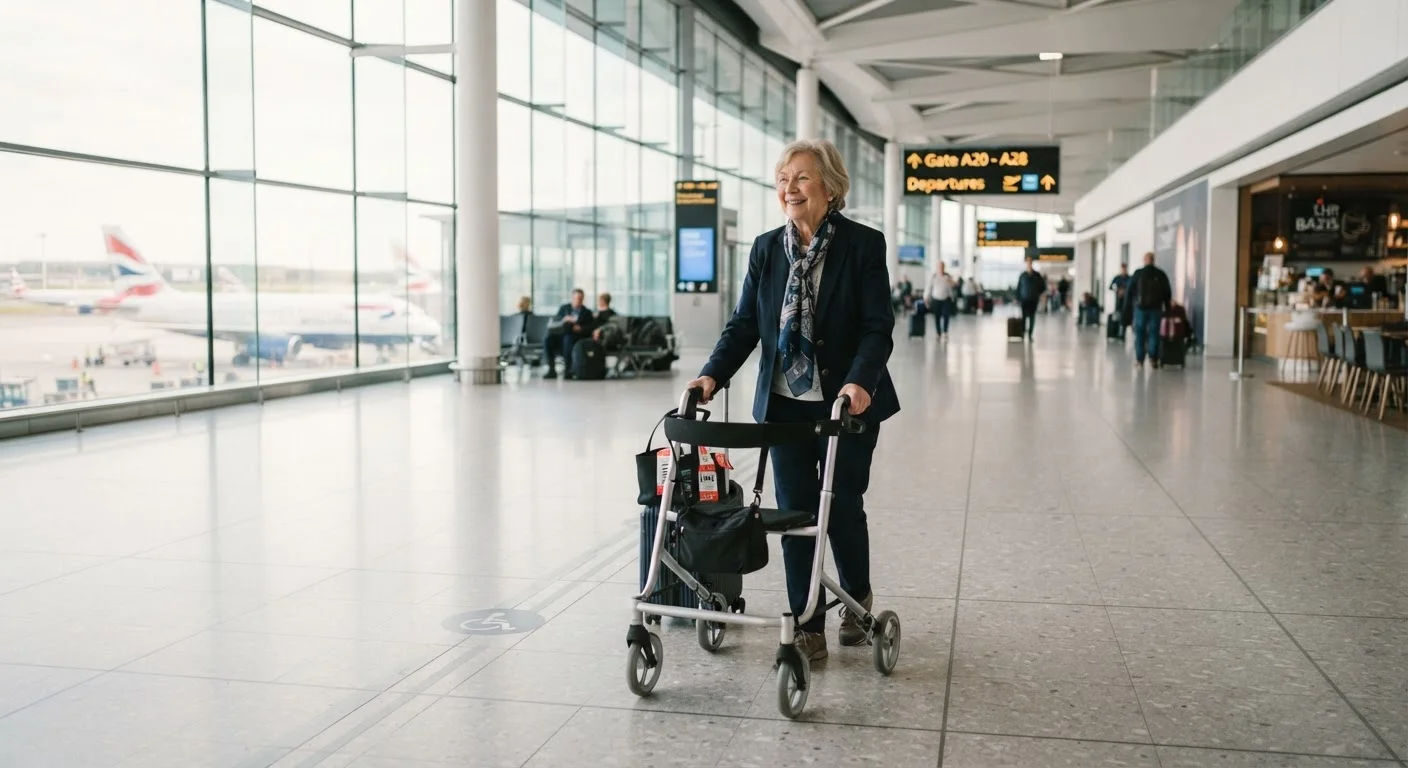
Photo: MyUrbanEscapes.net | Small Escapes. Big Experiences. editorial
—— In This Article
Key Takeaways
- Request wheelchair or escort assistance directly from your airline at least 48 hours before departure.
- Under the Air Carrier Access Act, airlines must accommodate passengers with mobility disabilities at no charge.
- Mobility aids checked at the gate are typically the last items loaded and first items retrieved at the jet bridge.
- Arrive at least two hours before domestic flights and three hours before international flights when using a mobility aid.
- Label every piece of mobility equipment with your contact information before checking it.
- Security screening has specific procedures for mobility aids — knowing them in advance reduces stress significantly.
What the Law Guarantees — and What You Need to Arrange Yourself
The Air Carrier Access Act (ACAA) requires U.S. airlines to provide assistance to passengers with physical disabilities, including wheelchair service through the terminal, help boarding and deplaning, and safe transport of your mobility equipment. This protection applies to all flights operated by U.S. carriers and to foreign carriers flying into or out of the United States.
However, the law requires you to request most accommodations in advance. Airlines are not obligated to anticipate your needs without notice. That's why contacting your airline as soon as your ticket is booked — and again 24–48 hours before departure — is the single most important step you can take. For a deeper look at what to request when booking, see our guide to booking flights with mobility or medical needs.
What you will need
The ACAA also entitles you to bring a personally owned wheelchair or scooter as checked baggage without extra charge. Airlines must stow it in a location that prevents damage — though, in practice, damage can occur. Documenting your equipment before travel (photos, model details) is strongly advised.
Moving Through the Airport: From Curb to Gate
Airports can feel overwhelming when distances are long and crowds are unpredictable. Breaking the journey into clear stages makes it far more manageable.
Arrange wheelchair or escort assistance before you arrive
Call or contact your airline's accessibility desk when you book, and confirm again 24–48 hours before departure. Specify exactly where you need help: curbside to check-in, check-in to the gate, or all the way to your seat. Airline-provided wheelchair attendants meet you at the curb or ticket counter — you do not need to bring your own chair to receive this service.
Allow extra time and plan your route
Arrive at least two hours before a domestic flight and three hours before an international flight. Large airports can have 15–20 minute walks between check-in and gates even with assistance. Review the airport's terminal map online in advance — many airports publish accessibility maps showing elevator locations, accessible restrooms, and rest areas.
Check in and hand off any mobility equipment
At check-in, alert the agent that you have mobility equipment to check, whether at the counter or the gate. For power wheelchairs and scooters, staff will typically ask for the battery type and may need to discharge or disconnect it according to airline policy. Attach a luggage tag with your name and contact details to every piece of equipment, and take photos of the condition before handing it over.
Move through security with your mobility aid
Inform the TSA agent at the start of the lane that you use a mobility aid and describe any limitations on your ability to walk, stand, or raise your arms. You are entitled to remain in your wheelchair throughout screening if needed. Canes and walkers will be swabbed or sent through the X-ray — ask an agent to stay near you so you are never left without your aid.
Board the aircraft using pre-boarding
Airlines are required to offer pre-boarding to passengers with disabilities. When the gate agent makes the boarding call, approach the desk and identify yourself as needing pre-boarding assistance. If an aisle wheelchair (a narrow chair used inside the aircraft cabin) is required to reach your seat, request one when you notify the airline — not at the last minute at the gate.
Deplane and retrieve your equipment
Inform the flight crew before landing that you will need assistance deplaning and that you are expecting your mobility aid at the jet bridge. Remain seated until other passengers have exited — this gives staff time to retrieve your equipment without the confusion of a crowded aisle. If your aid is not at the jet bridge within a few minutes of your exit, tell the flight attendant immediately rather than proceeding to baggage claim without it.
For broader tips on keeping yourself safe during active travel, the Safety While Traveling hub offers practical awareness strategies worth reviewing before any trip. And if a cruise follows your flight, Cruise Health & Safety covers what to expect onboard.
Use the Airport's Own Accessibility Resources
Many major U.S. airports have dedicated accessibility coordinators or passenger assistance programs separate from airline services. Check the airport's official website before you travel — you may find additional services such as escort programs, quiet rooms, or accessibility-focused staff at information desks. These resources can fill gaps that airline wheelchair service doesn't cover.
Checking and Reclaiming Your Mobility Equipment
How your mobility aid is handled depends on its type and size. Canes and folding walkers typically travel in the overhead bin or under the seat. Power wheelchairs, scooters, and larger rollators are usually checked — either at the ticket counter or at the gate door.
Power Wheelchair Batteries Require Advance Confirmation
Airlines have specific rules about lithium and gel-cell batteries used in power wheelchairs and scooters, and these rules can vary by carrier. Failure to comply can result in your chair being refused at the gate. Contact your airline's accessibility team well before travel to confirm battery type requirements and any documentation you may need to carry.
When you check equipment at the gate, it should be waiting for you at the jet bridge upon arrival — not on the baggage carousel. If it isn't there within a reasonable time, alert a flight attendant before leaving the jet bridge area. Airline staff are required to assist you, and acting quickly at the point of arrival gives you the best chance of a fast resolution.
For those planning a cruise after their flight, cruising with a mobility aid covers how ships handle the same equipment once you're onboard.
Clearing Security with a Mobility Aid
TSA screening can feel daunting, but agents are trained to work with travelers who use canes, walkers, and wheelchairs. Here's what typically happens:
- Canes and walkers go through the X-ray machine on the conveyor belt. If you need to hand them over, ask the agent to remain within reach before you release them.
- Wheelchairs — both manual and power — are screened by TSA agents using a physical inspection and swab test. You do not need to leave your chair to pass through the detector if you are unable to do so.
- Batteries in power chairs and scooters are subject to airline and TSA rules. Lithium batteries must typically be non-spillable and meet watt-hour limits; confirm specifics with your airline before you travel.
You may request a private screening area at any point, and you may ask for a passenger support specialist if you need extra assistance. TSA Cares (the TSA helpline for travelers with disabilities) can be contacted in advance to arrange dedicated assistance at the checkpoint — a step worth considering if your needs are complex. Always verify current procedures with the TSA directly before your travel date, as protocols can change.
This article provides general travel information and is not a substitute for guidance from your airline, airport, or the TSA. Always confirm specific procedures directly with the relevant authorities before your trip.

Senior Trip Planning Editorial Team
Senior Trip Planning Editorial Team is the collective byline for our editorial team and contributor network. Articles published under this byline or an editorial pen name are researched, written, and reviewed according to our editorial standards for clarity, consistency, and independence before publication.
View author profile